This project started with (Robert Justice) attaching a CF adapter to the Apple // smart port. http://www.users.on.net/~rjustice/SmartportCFA/SmartportCFA.htm
It was then ported to Adrunio (328p) UNO by Andrea Ottaviani http://www.users.on.net/~rjustice/SmartportCFA/SmartportSD.htm
Then a face book user (Katherine Stark) https://www.facebook.com/groups/5251478676/permalink/10160668762608677
posted that they got it working with SDFat. This was easier to manage files on the SD card instead of RAW partitions. Katherines’ code is located here:
https://gitlab.com/nyankat/smartportsd
I thought it would be fun so I cobbled one together from spare parts I had. As with any project it took a couple of tries. First I had a couple of bad Chinese SD socket (x2) fixed one with a rubber band! Second I was using the wrong version of the SDFat library (Use 1.x not 2.x).
Once I put it together I tested on my Apple //c+, and My //GS ROM3. This little project worked pretty good.
The hardest problem with these projects is the connectivity. A DB19 connector on Ebay is almost $15 each with the shipping and tax. More than the parts for the rest of the project combined. I did find some DB19 connectors Here: http://www.iec-usa.com/cgi-bin/iec/DB19MS at only $3.24 each so I purchased 10 and had them shipped, While waiting for the connector I did want to try the project so I pulled apart a Apple 5.25Drive (with the DB19 cable and stole the cable that goes from the DB19 to an IDC 20 pin female, Perfect to stuff in Dupont wires.
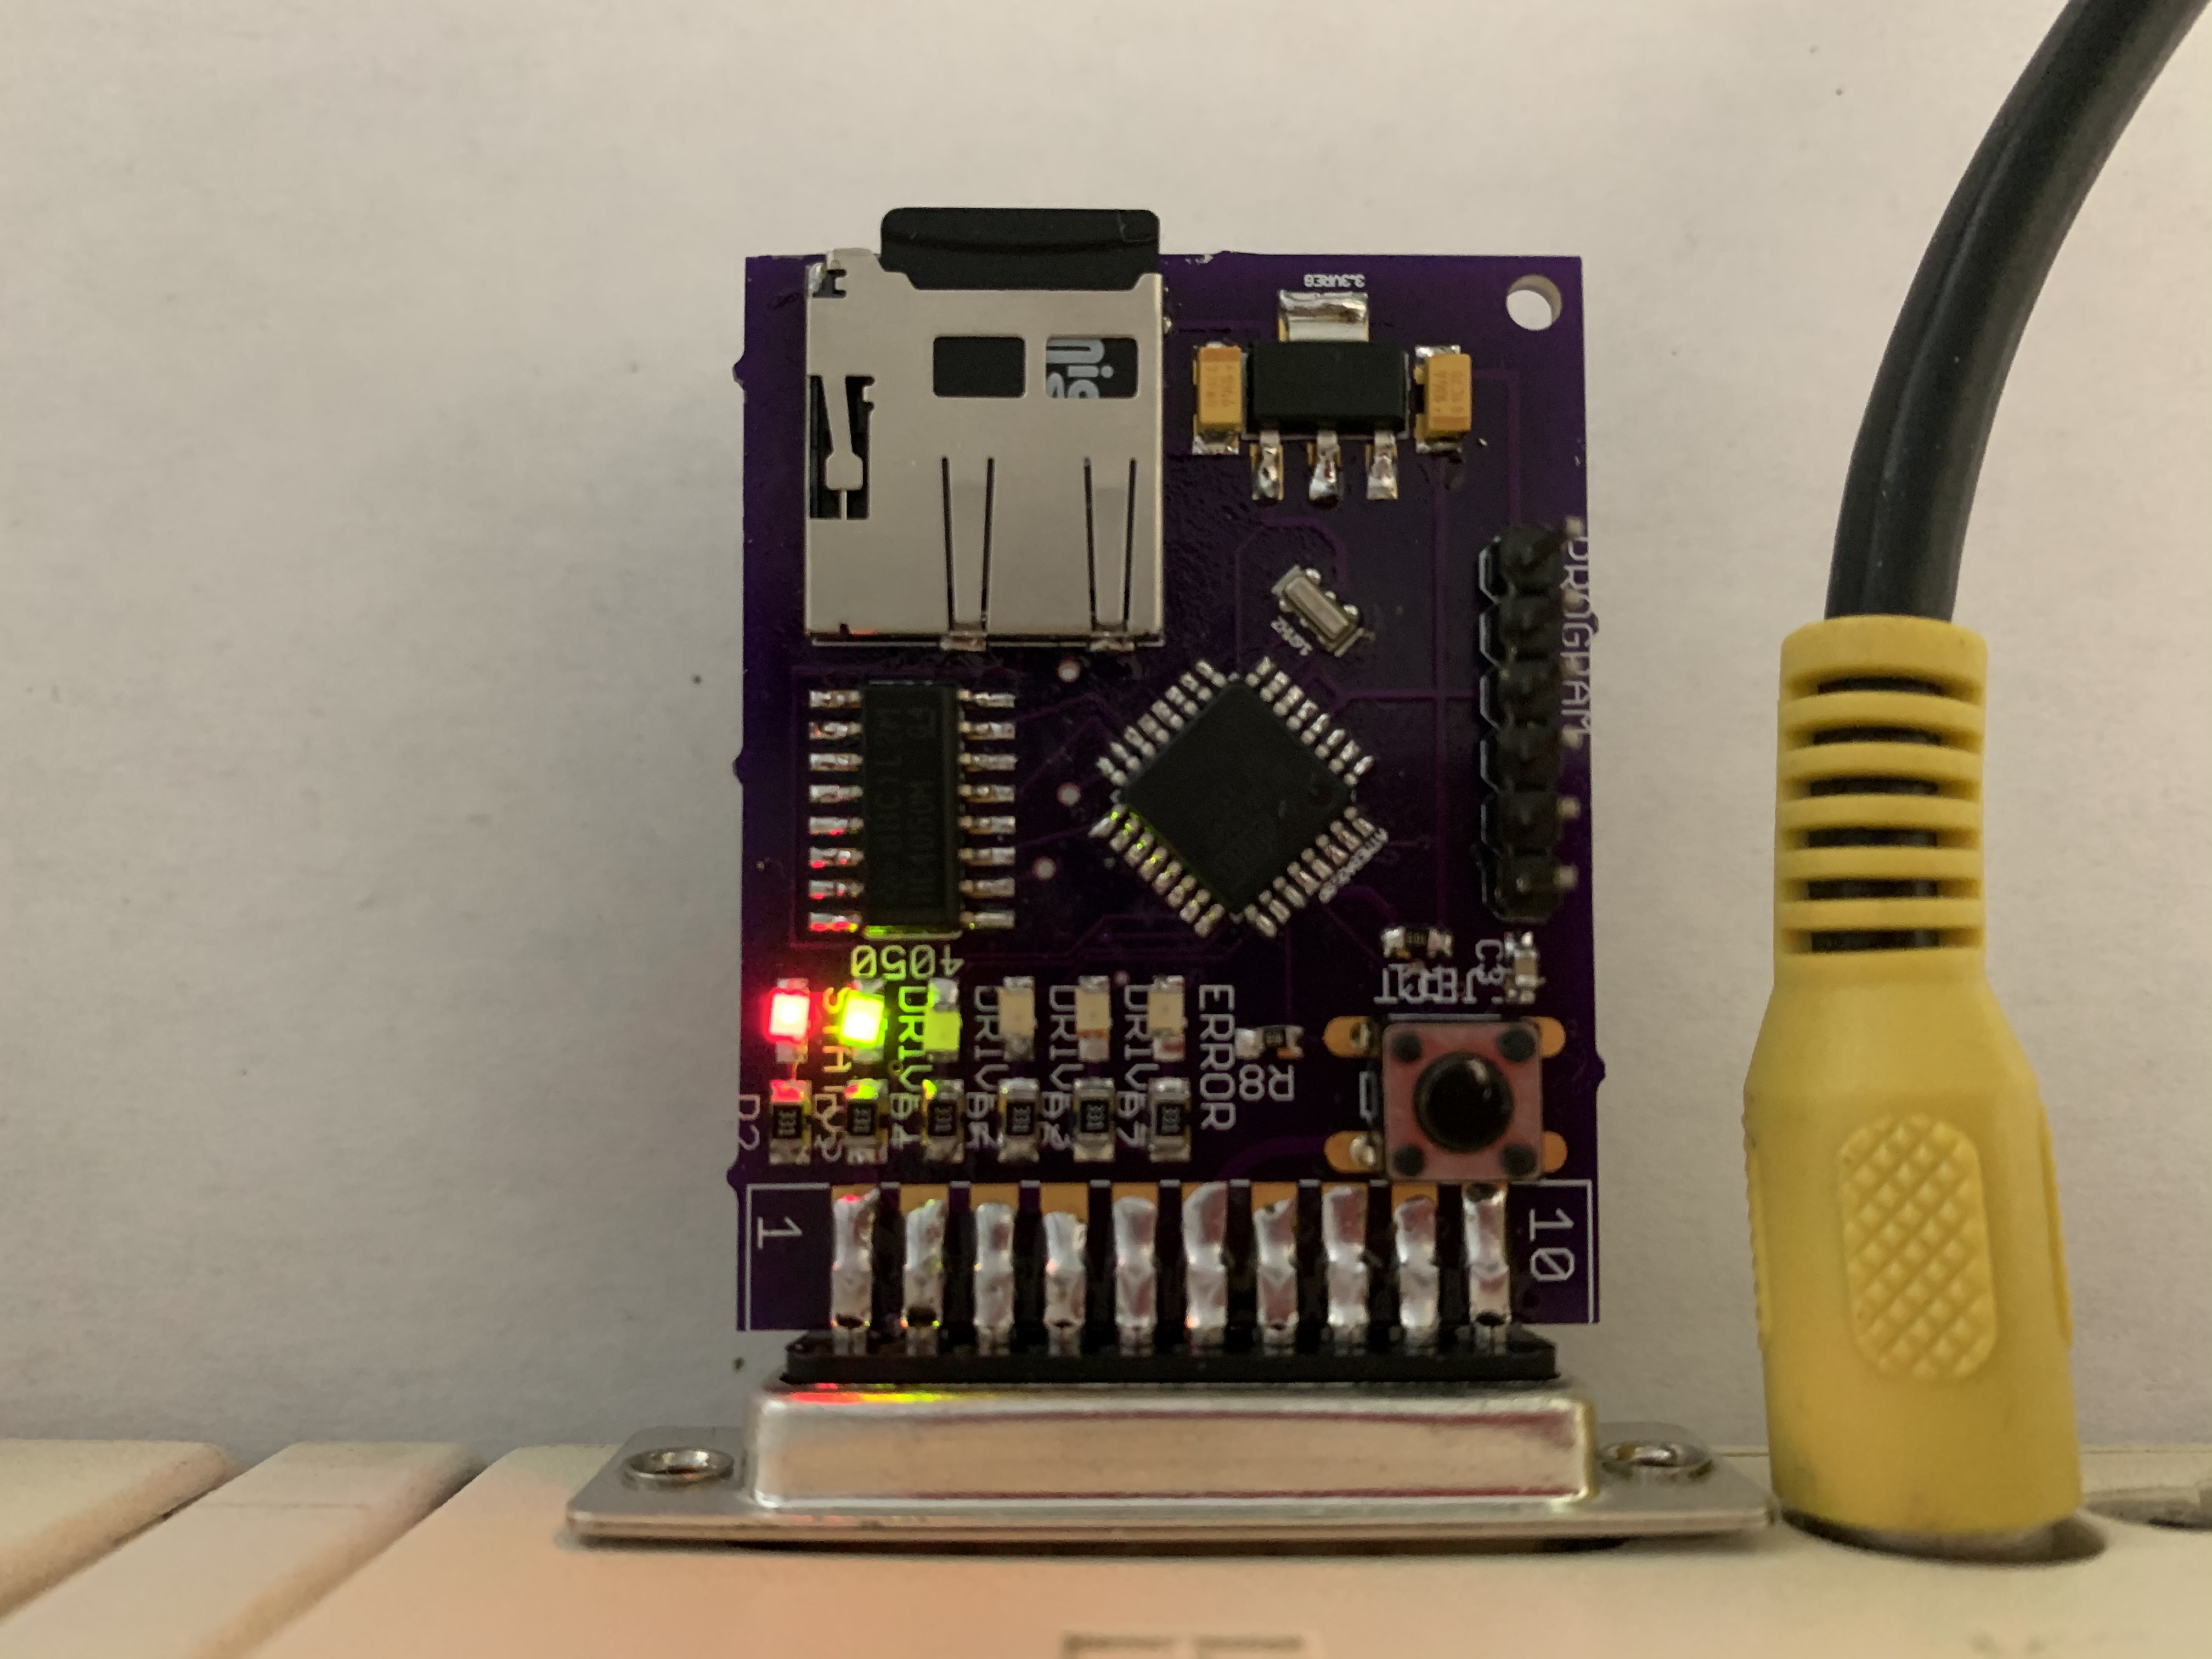
Ok it works, Now I’ve already got a design that uses an ATMega 328p and a SD card, can I re-use this design for the Smartport SD? Well I started with the SDFat! project from some time ago and added in the connector for the DB19. From the first conversion of this project to Arduino, the code has supported a status LED and an INPUT to switch which of the 4 supported partitions are presented as the Boot partition. You press the button once and then either reset your Arduino or turn off the power to the Apple II and reboot. I decided to keep this “Eject switch ” but to have 4 LEDS show which partition will be the boot partition on the next boot. I also modified the code so that you can press the eject button again and continue to choose which would boot rather than just the next one and then power cycle. I had one pin left on the Arduino so I added an error LED rather than just blinking the status LED differently. Here is what I came up with.

Installed on the Back of an Apple //c.

A little closer so you can see it compared to the composite cable plug that is also out the back of the //c.